26 AUGUST 2026
How to make a pink pumpkin that deserves to be posted on main
Written by The Cruiser Editors
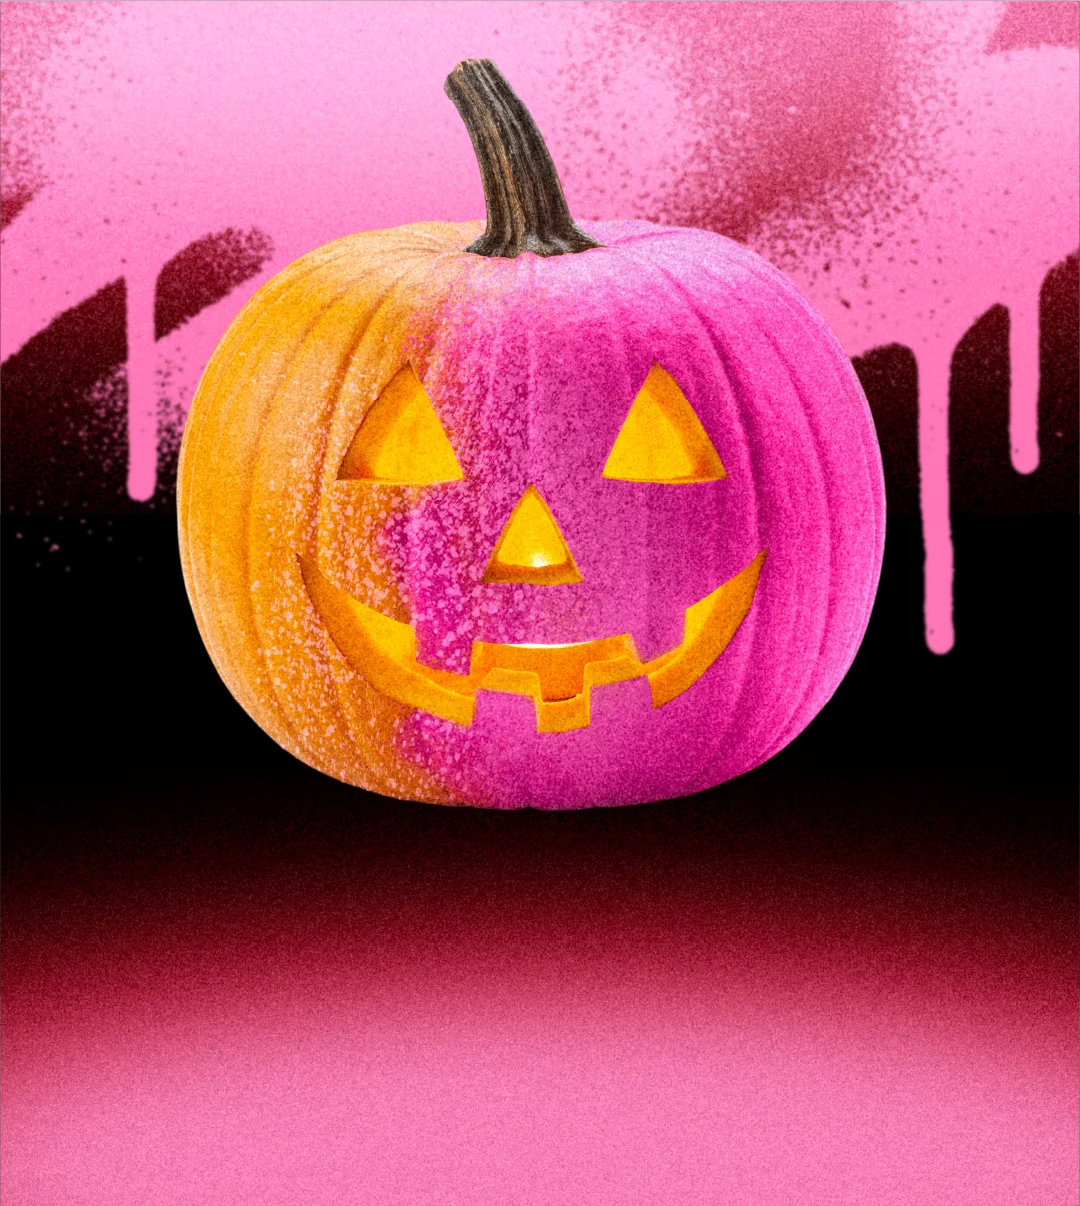
We all know that the Halloween pumpkin is traditionally orange… but here at Vodka Cruiser we go for boldness over tradition.
Enter: the pink pumpkin.
Like a normal pumpkin, but with way more attitude.
Here’s how to make your own pink pumpkin head, Cruiser style.
What you’ll need
A carvable pumpkin
Small sharp serrated knife
Pink spray paint
Black permanent marker
Clear sealer
Newspaper or a drop sheet
Step 1: Choose your pumpkin
Sorry to be the bearer of bad news, but a Queensland blue won’t work. Most supermarkets sell Jack-o-lantern pumpkins in October, same with most craft stores selling plastic, carvable pumpkins.
If you purchase a real pumpkin, be aware that a hot October sun can quickly decay your pumpkin. So if you want your pink pumpkin head to last longer than a few days, then you might have to go the fake route.
Step 2: Make a lid and scoop
This step is only if you have a real jack-o-lantern pumpkin. Cut a lid with your small, sharp, serrated vegetable knife and put the lid to the side. Get an ice-cream scoop (or any large spoon will work) and scoop out all of the pips and flesh inside the pumpkin.
Step 3: Give it a personality
Using a permanent marker, draw on the pumpkin eyes, nose and a mouth. With a few little artistic choices it’s easy to change the expression. Here are a few for some inspo.
The Flirt Heart eyes. Big pout.
The Menace Angry eyebrows. Evil grin.
The Morning After Tired eyes with eye bags.
The Classic Triangle eyes and a toothy grin.
Step 4: Carve in the face
Using your knife, carefully carve out the drawn-on faces. Discard the excess carved out chunks of pumpkin.
Step 5: Pink it up
Take your pumpkin somewhere well ventilated and can also get a little messy. Place your newspapers or drop sheet on the ground and put the pumpkin with its lid on the ground covering. Spray several coats of the pink paint all over the pumpkin, leaving enough time between coats to dry.
Step 6: Seal the deal
And finally – if your pumpkin is real – when it’s completely dry, spray the inside and outside with a clear, protective sealant or a lacquer. This helps it survive a little longer if it’s going to be sitting in the sun.
Step 7: Let there be light
Whether your pumpkin is real or plastic, place inside the pumpkin some battery-operated tea candles or fairy lights. Real candles are a fire hazard, especially with all the layers of paint and sealant, it’s better to be safe than sorry.
Pumpkin done. What next?
Put your pink pumpkin somewhere it can be appreciated, and if you’re having a few friends over, get the playlist going and check out our Halloween pres hacks for a few more easy ways to make your place party-ready.
Still not sure about what you’ll be wearing? That’s what our Halloween Costume Generator is for.
Pumpkin: sorted.
Costume: sorted.
Halloween: looking suspiciously organised.